
Video editing basics

What is split video online, and when should you use it?

To split video online is to place cuts in a video so its footage becomes separate segments. This guide explains the editing concept, the usual workflow, and the difference between making a cut and preparing a finished clip.

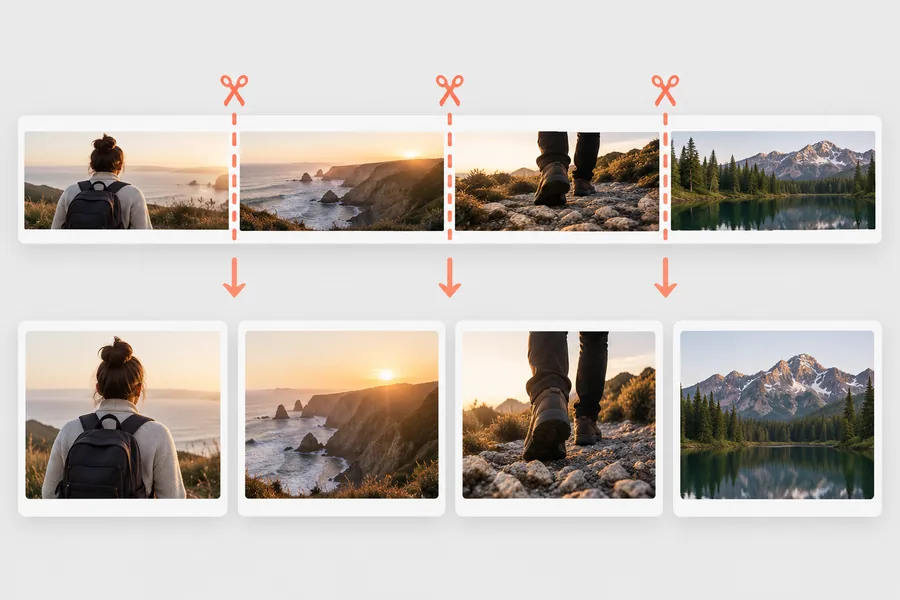
Video editing imagery illustrating a source clip and separate segments
Required Optional
  • A video file you have permission to edit and share.

    Required

    Keep the original until you have checked every exported clip.

  • A playback view that lets you identify where each segment should begin and end.

    Required

    Write down approximate timestamps if the recording is long.

  • A suitable upload connection if the editor processes video online.

    Required

    A larger source file can take longer to transfer.

  • A planned destination for the finished clips.

    Optional

    Its duration, aspect ratio, and file requirements may affect your export choices.

How it works

The basic process is the same whether you split video in a browser or an installed editor: inspect the source, set boundaries, and check the result.

  1. 1

    Find the boundary

    Play the recording around the moment you want to separate. Pause near the intended change, then move carefully to the frame that should end the first segment. A cut placed a few seconds too early can remove a word or action you meant to keep.

  2. 2

    Make and review the cut

    Place a cut at that position and preview both sides. Repeat for each additional boundary. If you want one short excerpt from the middle, you usually need a cut before it and another after it; one cut only divides the recording into two adjoining pieces.

  3. 3

    Export the clips you need

    A split on an editing timeline may remain inside one project. To obtain separate files, select or export the intended segments and play each saved result. Check its opening, ending, sound, and file requirements before deleting the source.

What it can and cannot do

Choose a split when you need a new boundary in existing footage, not when the underlying recording needs repair. Cutting and exporting are related actions, but they are not interchangeable.

When

You need several self-contained excerpts

Then

Split at the start and end of each excerpt, then export the pieces separately.

This preserves the parts you want while giving each clip a clear opening and ending. Preview transitions so speech or movement is not cut off.

When

You need one shorter continuous video

Then

Cut around the unwanted passage, remove it, and join the remaining material.

Splitting marks the boundaries; removing and arranging segments completes the edit. Watch the join for an abrupt change in audio or picture.

When

You need better picture, missing footage, or a smaller file

Then

Use a separate correction or export decision rather than relying on a cut.

A split cannot recover frames that were never recorded. File size also depends on what you export and its settings, not just the number of cuts.

Who uses it

People split video for different destinations, but the useful question is always the same: where should one meaningful segment end and the next begin?

Visual illustrating the organization of video footage into segments

1

Creators shaping a longer recording

A tutorial creator might separate an introduction, a demonstration, and a recap before deciding what belongs in the final edit. An event organizer might isolate individual speakers from a continuous recording. In both cases, reviewing the moments around each boundary matters more than simply dividing the runtime into equal lengths.

  • Keep the original recording as a reference.
  • Name exported segments by subject or order.
Visual illustrating a short clip prepared from a longer video

2

People preparing short clips to share

Someone sharing a brief highlight may split video to isolate the relevant moment without asking viewers to search through a longer file. Before posting, they should check the destination’s current requirements and watch the exported clip from beginning to end. An online editor can make the workflow accessible in a browser, but its available controls and export options depend on the specific service.

  • Check that the clip makes sense without the surrounding footage.
  • Verify sound and framing in the saved file.

Ready to explore a video workflow?

Start with a source you can edit, identify the boundaries you need, and inspect the resulting clips. Splitvideo can take you to the video product to explore the tools available there; check its current controls and export options for your project.

Explore video tools
  • Plan each cut before exporting.
  • Keep the original until the results are checked.

FAQ

It means using a browser-based workflow to place a boundary in an existing video so you can work with the footage on either side. Depending on the editor, you may then remove, rearrange, or export those segments.

Not necessarily. Many editors first create two segments within a project or timeline. If you need two files, check how that editor exports each segment and inspect both saved results.

They are related but describe different decisions. A split creates a boundary between segments; trimming shortens a segment by changing where it starts or ends. You may use both to make one concise excerpt.

Keep a separate copy of the source before you edit. Some workflows save changes in a project while others create new files, so confirm what will be overwritten before making cuts or exports.

Exporting only a short portion may produce a smaller file than exporting the whole recording, but a cut alone does not guarantee that result. The saved file also depends on duration and export settings.

Open video workspace